Hello Canadensis Nation!
I’m excited to be blogging for the very first time – there are so many possibilities for where this blog will go! I am the kind of girl who loves to learn about new things and I’m always picking up new hobbies. I’m also ready to play a game at all times – that is why I love being a camp so much – there are always people around to play cards, jack’s or make art projects with!
I want this blog to be a creative outlet for you to build, learn and play along with me – I’ll be posting links to games, art projects, and showing you some of my latest endeavors and hobbies.
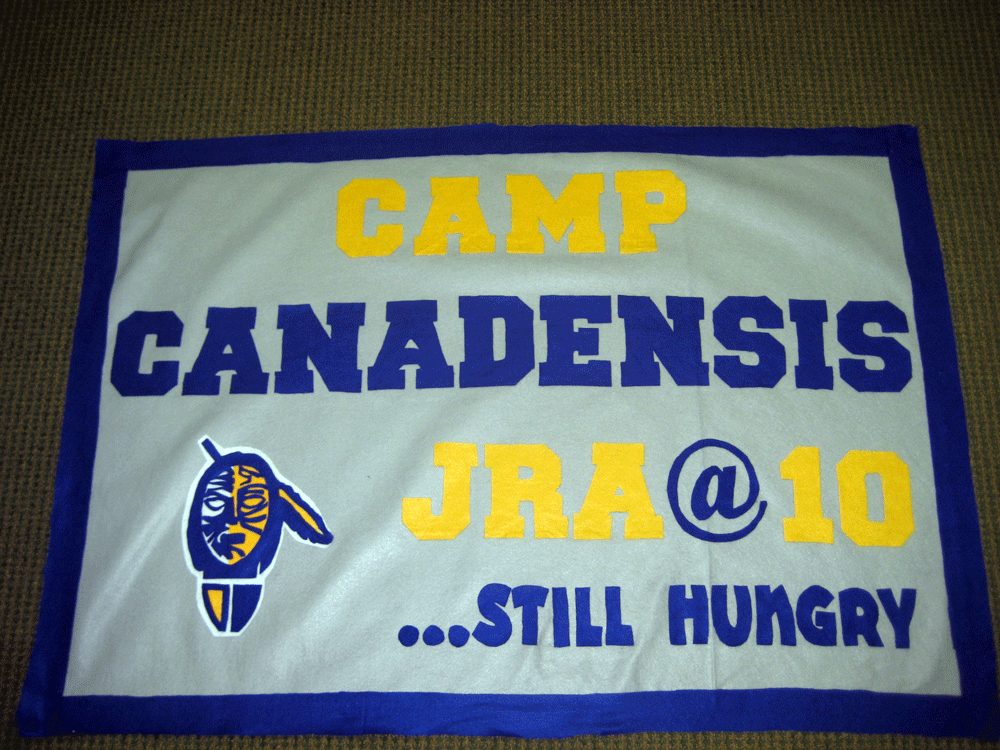
To get started, let me show you the most recent project I’ve been working on at the Camp Canadensis winter office…it’s a banner for the Jewish Relief Agency. The JRA is a non-profit, volunteer driven organization that packages and delivers food to less fortunate families in Philadelphia. I have personally been involved with JRA for 3 years, and since 2009, Camp Canadensis has been sending our Counselors-In-Training (CIT’s) to volunteer during the summer – and we did an event for all our families at JRA this past winter. Camp Canadensis plans to do more with JRA years ahead, and we are starting by helping them celebrate their 10 year anniversary by making a banner to show our support.
This banner will be hung at the JRA@10…Still Hungry, anniversary celebration at the Please Touch Museum on November 17, 2010. After the event, the banner will be moved to the JRA warehouse, and our Camp Canadensis families will be able to see it each time they go to volunteer. I made the banner out of felt, and here’s what you would need to make your own Canadensis banner at home.
- One yard of gray felt (or whatever color you choose to do the background in)
- 1/4 yard each of gold, blue and white felt
- Fabri-Tac permanent adhesive glue
- Good scissors for cutting felt
The supplies should cost you less than $20 – (if you already have scissors, the glue will be the most expensive item, but you only need a small bottle). Get creative and design your own banner – this one had to say Camp Canadensis and JRA@10…Still Hungry – but I had fun putting on a border and making a Camp Canadensis Indian Head.
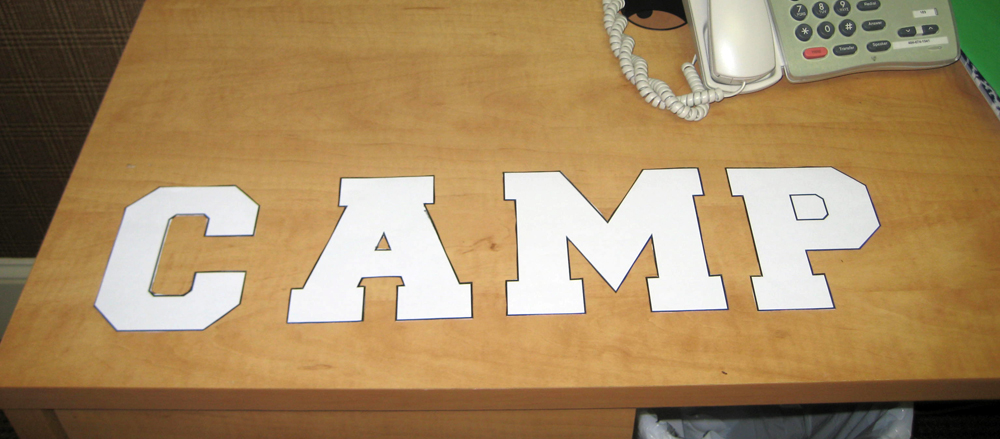
STEP 1: Find a font you like, and print out the letters you’ll need on paper at the size you want the letters to be. For “Camp Canadensis” I needed multiple “C’s” and “A’s” but only print each letter once – these are just a stencil. I suggest finding a bold that isn’t too curvy or hard to cut out.
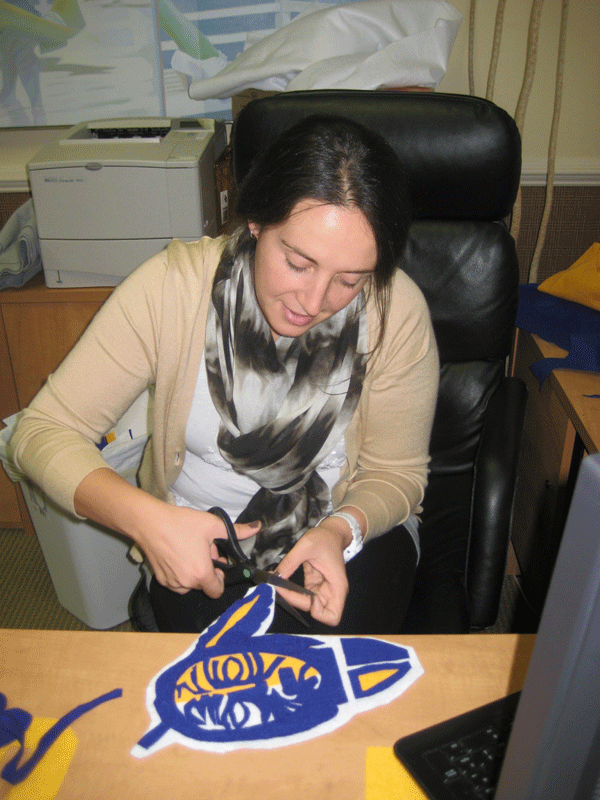
STEP 2: Take your paper letters (or designs) and hold them against the felt BACKWARDS. Use a sharpie marker to trace them onto the felt so you can cut them out. You want to trace them backwards so that you will not see the marks from the sharpie on the front. Once everything is all traced, start cutting using a good pair of fabric scissors!
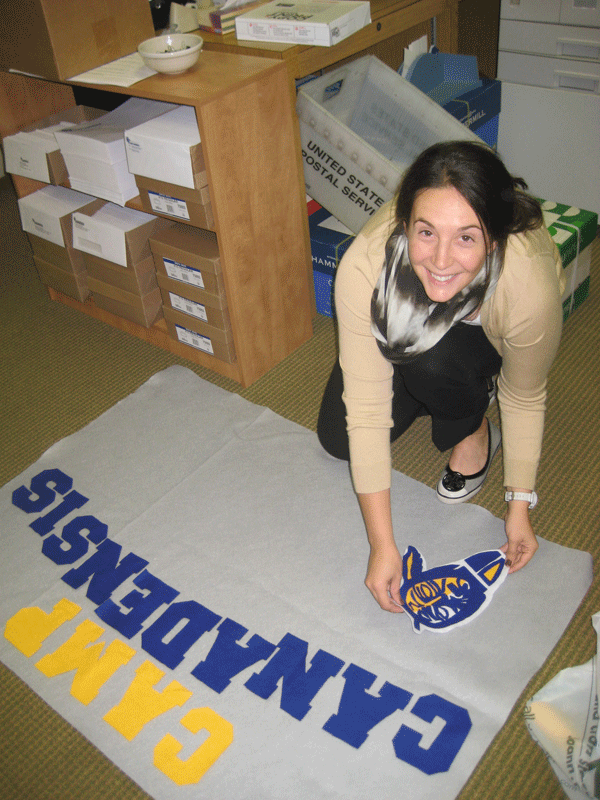
STEP 3: When you have all the letters and designs you want cut out from felt, start playing around with your design – do not glue anything yet. Now is the chance to make sure it all fits and is laid out the way you want.
STEP 4: When it’s time to start gluing, I think it’s best to get on the floor (maybe even kick your shoes off like me!) The Fabri-Tac glue dries very quickly, so I work one letter at a time. It’s important to make sure the glue is getting all the way to the edges of your letters and designs, otherwise the felt might start to curl! To learn more about the glue I used, click here. Warning – this glue also removes nail polish!
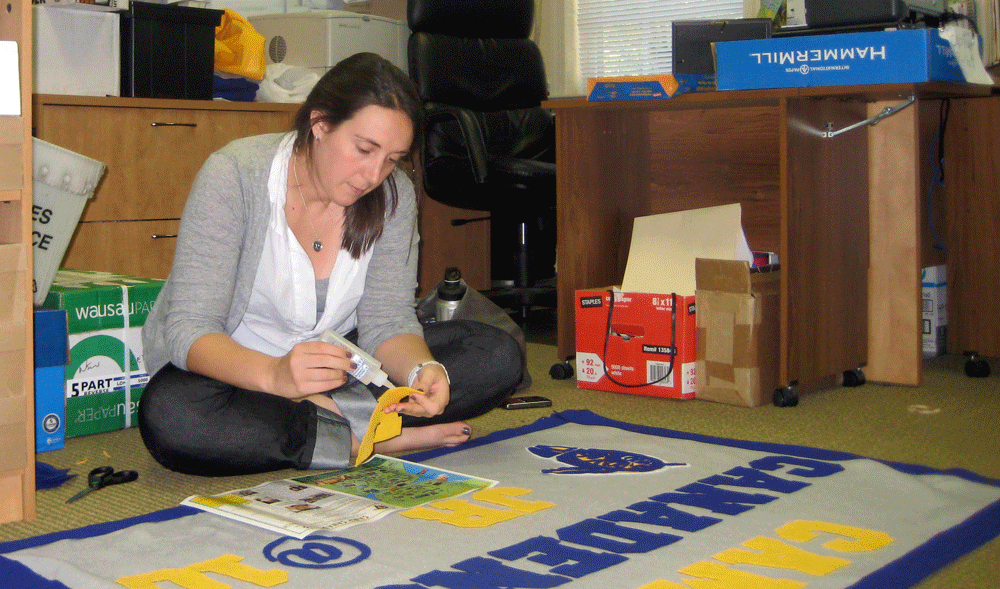
STEP 5: After gluing, it’s important to make sure the letters are lined up straight because once you place them down, they are not moving anywhere! I am using a long sheet of paper right under where I’m gluing to make sure everything is lined up. After placing the letter down, I make sure to smooth out the air bubbles and secure it in place.
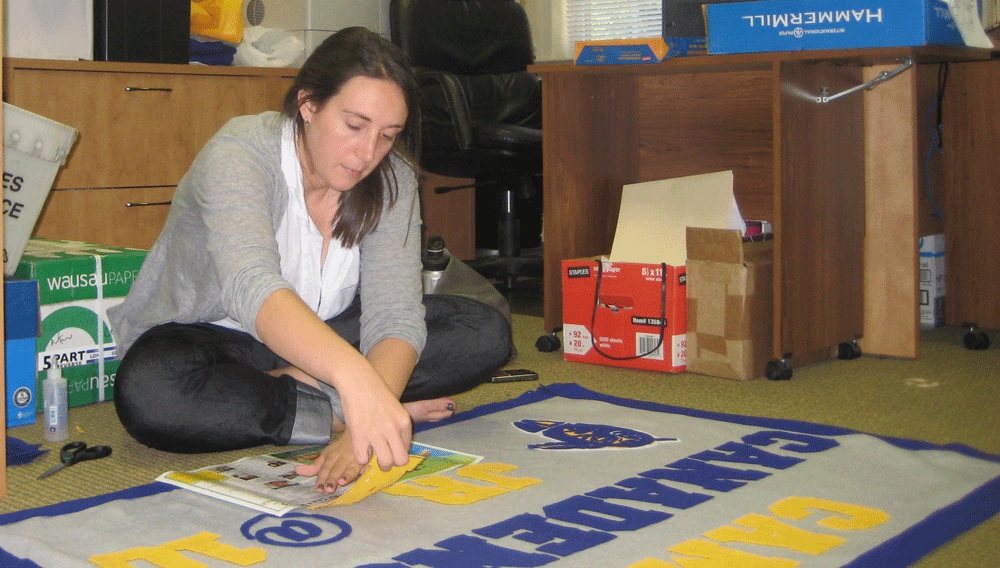
Now the banner is done, and ready to hang at the JRA warehouse. Make sure to look for it the next time you are volunteering!
