I woke up Saturday morning in a crafty mood, so I decided to make some small notebooks!
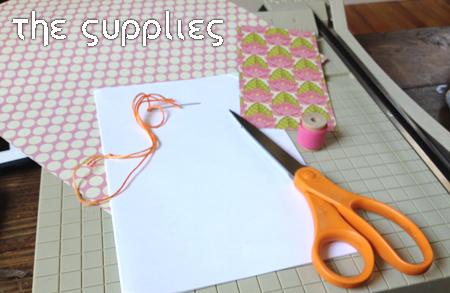 As always, step one is to ask your parents and then you can gather your supplies.
1. Scrapbook paper
2. Plain printer paper
3. Scissors (and a paper cutter if you have it)
4. Strong, but sharp needle with thread (I used the thick kind you use for friendship bracelets)
5. Pretty tape (I used washi tape, but duck tape would be cute too!)
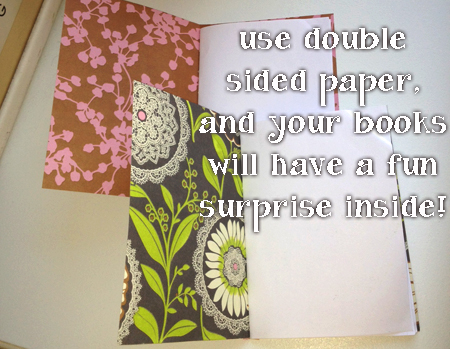
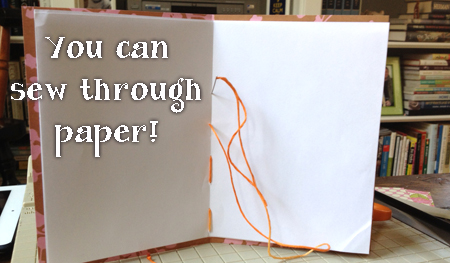 All you have to do it cut the printer paper into a size you like, and then you will fold it in half (remember, this doubles the amount of pages). I suggest only using 5-8 sheets of printer paper so you can easily sew through it. You want to make a REALLY good crease in the middle so that you have a nice binding. Then start sewing!
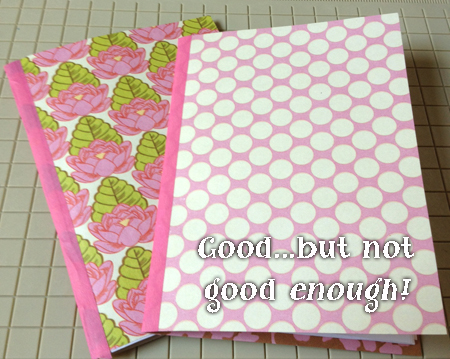 Next, you’ll put some tape on the edge to cover the stitches and give it a nice edge. I was really happy with the way these looked, they were good…but not good enough! My friend Ali was with me while I was crafting (she is a former Canadensis counselor!!), so I decided to add a little detail to the front…
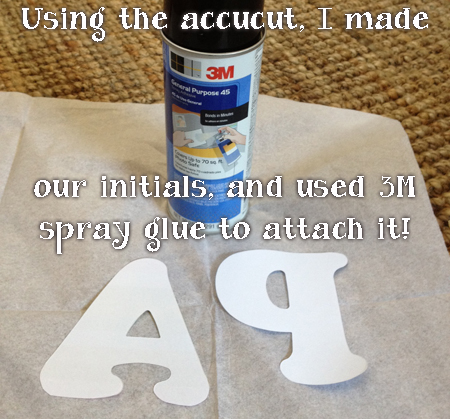 I used the accucut to cut out our initials in a contrasting scrapbook paper, and then I used some spray glue on the back to turn it into a sticker. You can use any kind of glue, but this stuff is great because it doesn’t make your paper wet and gloppy.
 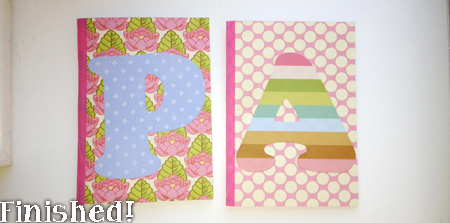 And now…it was finished!
But after making some notebooks, I still had a lot of crafting energy! So, I decided to make the freezer paper stencils I’ve been seeing all over pinterest, and turn my boring plain t-shirts into exciting Canadensis Gear! This project definitely needs parental supervision. Instead of explaining all the steps, I’ll let you click here to read about how to do this project…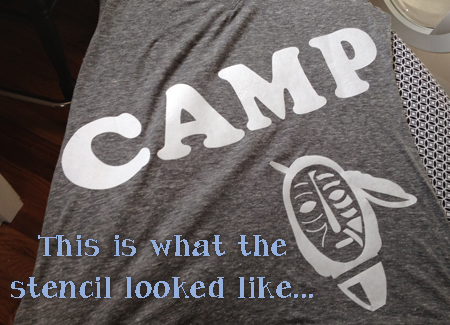
A few months ago I showed you the awesome personalized Indian Head Accucut tray that we got, and I thought it would be the perfect thing to use and experiment on shirts. I cut out the logo and letters, and all you have to do is iron the shiny side down (it comes up REALLY easily later).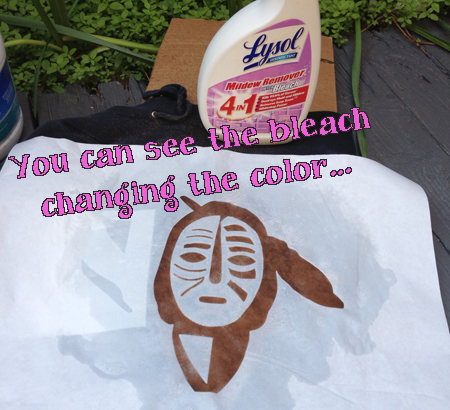 Then, I took it outside to a well ventilated area, and I started spritzing. My bleach must have gone bad because it wasn’t working…but this bathroom cleaner did the trick. (I later went to the store and bought new bleach!).
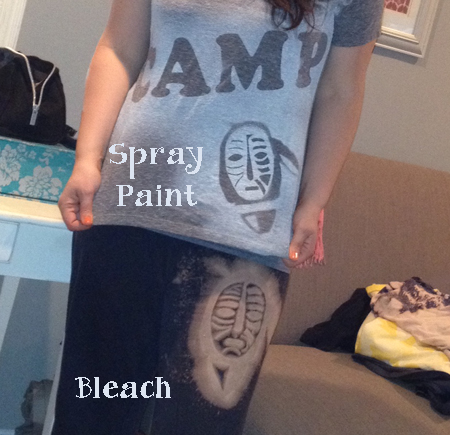 The shirt I’m wearing didn’t bleach at all…I kept adding more, but the colors didn’t run. I didn’t want to waste the cute design, so I spray painted over it so that when I peeled up the freezer paper, you could see the design. My sweatpants came out cool…love them! Even though the bleach spread a lot more than I planned, I will definitely still be rocking them this summer, so watch out!
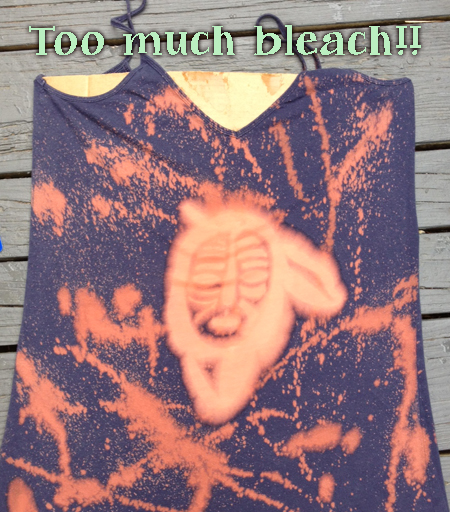 So, my experiments didn’t all come out amazing, but I enjoyed it and plan to make more again soon. I think with the stencils I was using, it would have been a much better idea to paint it instead of squirting it all over with bleach – and, when you use bleach you should have a bucket of water nearby so you can stop it from spreading and getting to areas you didn’t want it to reach. You craft and you learn!
And here is some exciting news…Camp Canadensis now has Pinterest! Click below and follow us…


